Looking for an effective way to showcase your company’s journey, project milestones, or personal achievements on your Divi website? A vertical timeline is an excellent solution. It transforms a simple list of events into an engaging, easy-to-follow visual layout that improves readability and keeps visitors engaged.
The best part is that you don’t need any coding knowledge. With the Timeline Module for Divi plugin, you can create a fully responsive and professional vertical timeline directly inside the Divi Builder using its familiar interface.
In this step-by-step guide, you’ll learn how to create a vertical timeline in Divi with ease. By the end of this tutorial, you’ll have a polished, interactive timeline ready to publish on your website.
Why Use a Vertical Timeline on Your Website?
Before we get started, let’s quickly talk about why a vertical timeline is worth adding to your site.
- It tells a story visually. People remember visuals better than plain text.
- It organizes information clearly. Whether it’s your company history, a product roadmap, or your work experience, a timeline puts everything in order.
- It keeps visitors engaged. A well-designed timeline encourages people to scroll and explore, instead of bouncing off the page.
- It works for many use cases. About Us pages, portfolios, resumes, event pages, project updates, a timeline fits almost anywhere.
Step 1: Install and Activate the Plugin
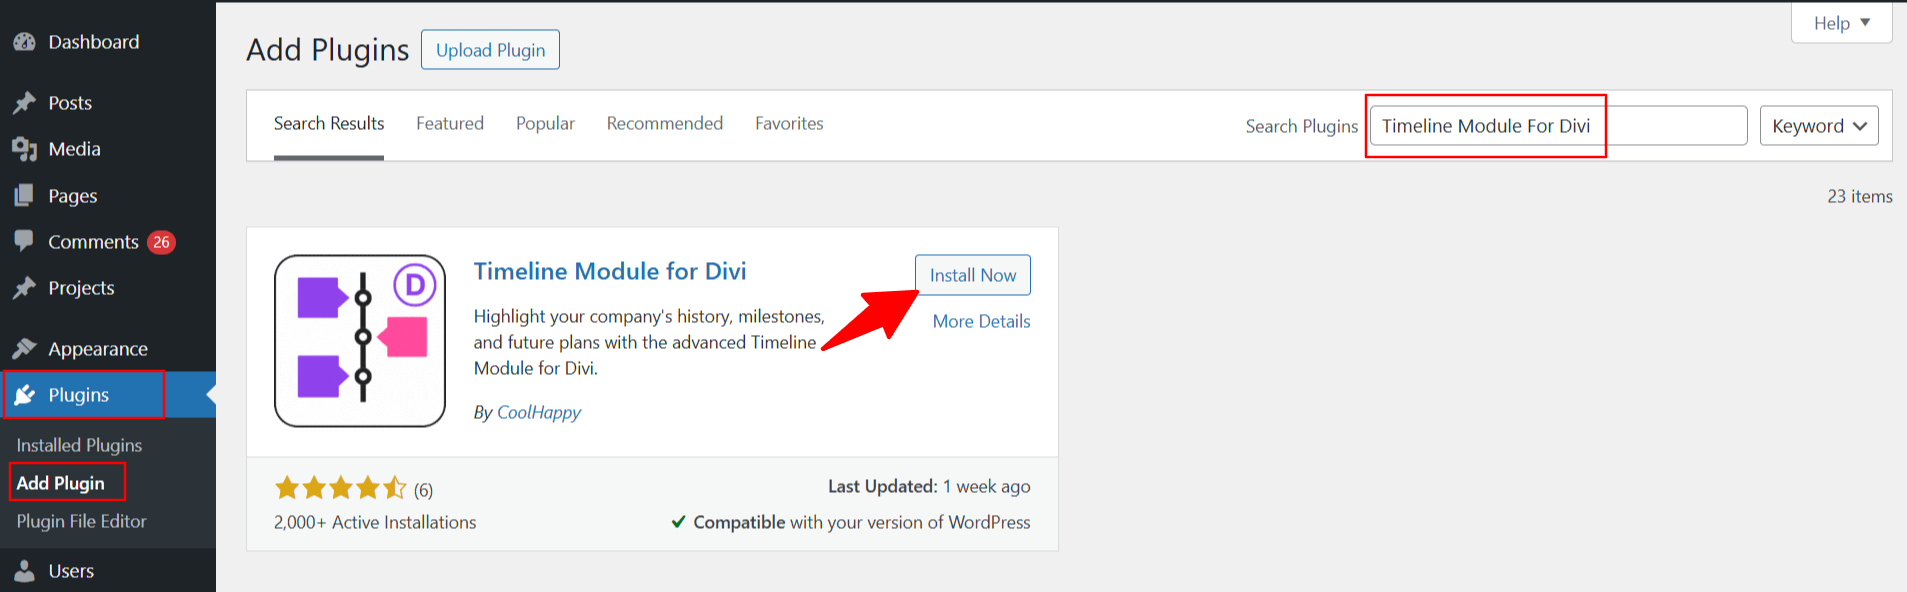
Install the plugin by uploading the ZIP file via Plugins > Add New > Upload Plugin, then click Install and Activate. The Timeline module will then be available in the Divi Builder.
Step 2: Add the Timeline Module to Your Page
Now let’s actually build the timeline.
- Navigate to the Pages section in your WordPress dashboard. Add a new page or “edit” an existing one with Divi.
- Now, from the modules section, search and add “Timeline” to your page.
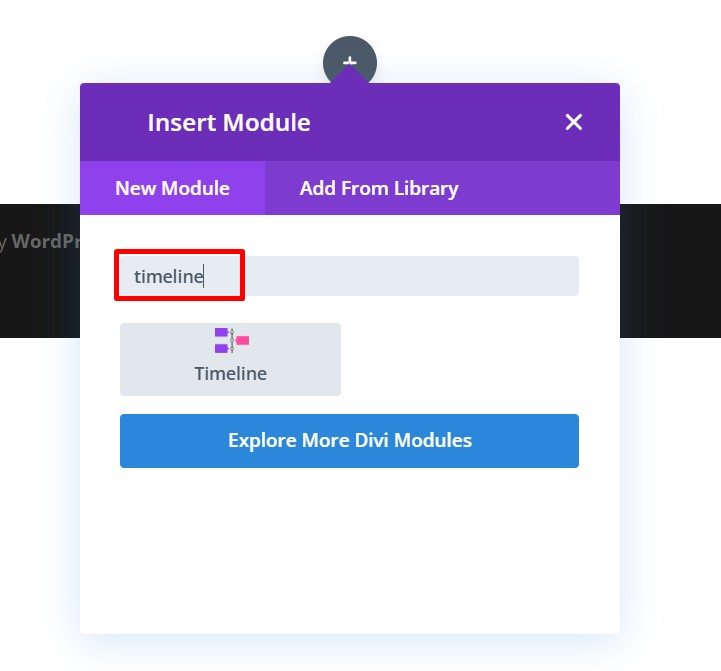
Once added, a default timeline will appear. You can now start adding timeline stories’ content and customize the display of the timeline using different settings:
Step 3: Add Timeline Content
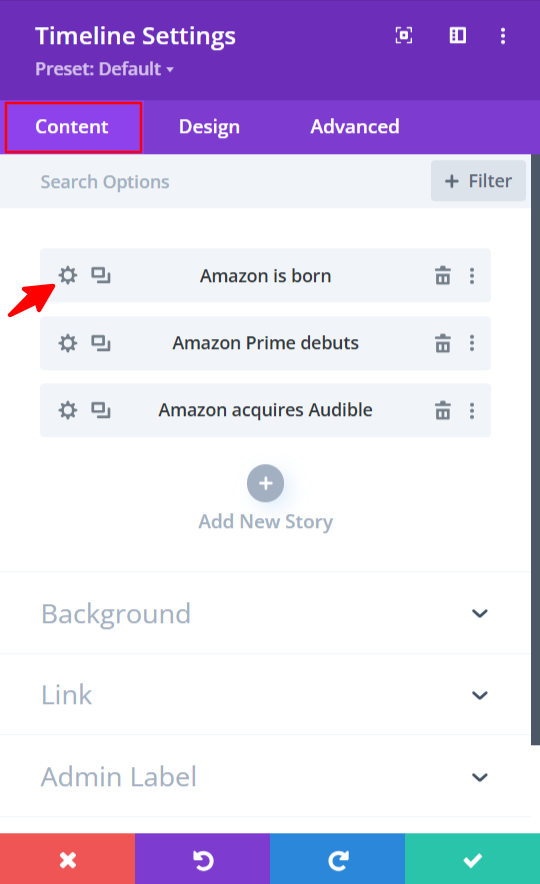
- Open the Timeline module settings, and go to the content settings tab.
Using Content settings, you can easily add, edit, and manage all timeline stories that appear in your timeline.
- Click on the settings icon of the particular timeline story to edit the full content of that story.
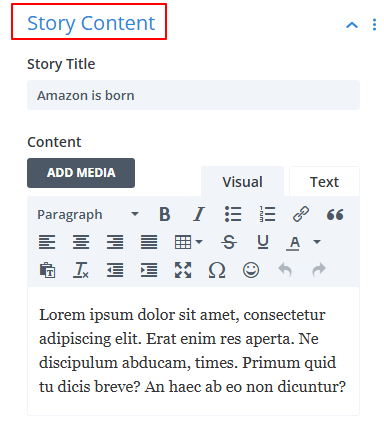
- Story Content:
- Story Title: Add the title for timeline story.
- Content: Add the description or text for the timeline story.
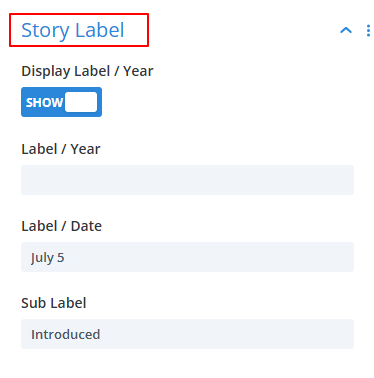
- Story Label:
- Display Label/Year: Toggle on this option if you want to display timeline label/year.
- Label/Year: Enter label/year for your timeline.
- Label/Date: Enter label/date for your timeline.
- Sub Label: Add additional small text under the main label.
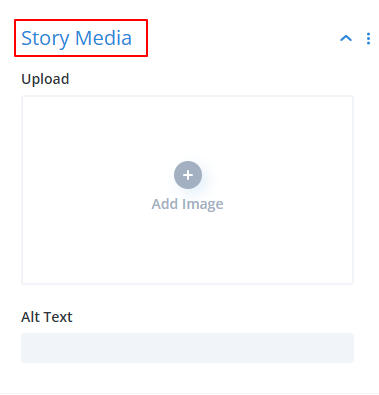
- Story Media:
- Upload: Upload or select an image that represents your timeline story.
- Alt Text: Enter the alt text for image.
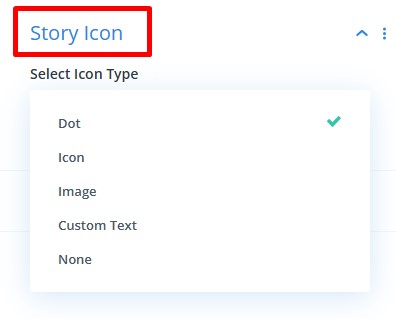
- Story Icon:
- Icon Type: Choose the type of icon for the timeline story from dot, icon, image, custom text, or none.
- Link:
- Module Link URL: Enter the link if you want users to be redirected to another page when they click on the timeline.
- Module Link Target: Choose whether you want to open the link in the same window or new one.
Similarly, edit the content of other timeline stories.
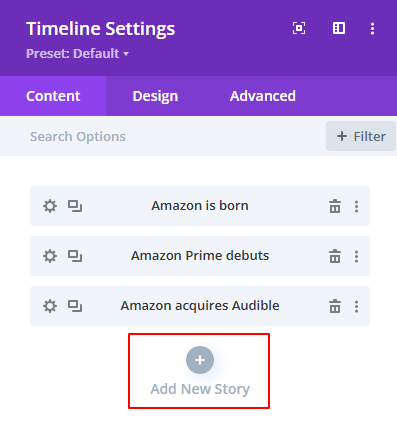
- To add a new timeline story, click on the “+” icon, new timeline story module will be added.
Step 4: Choose Vertical Timeline Layout
The Timeline Module for Divi supports both vertical and horizontal layouts, but let’s discuss about the vertical timeline in detail:
- From the Timeline module settings, go to the Design tab.
Here, you can easily customize the appearance of your timeline stories by changing layout, colors, spacing, fonts, icons, and more.
- Timeline Layouts: Choose Vertical Timeline layout. You’ll also get the option to display the vertical timeline as a one-side layout (all entries on one side) or a both-side layout (entries alternating left and right).
- Label Settings: Style your date label, sub label, and year label separately. Change the font, weight, color, and size for each.
- Container Settings: Set the background color, padding, border style, border width, and rounded corners for each story box. You can also choose how the story connects to the main timeline line (like an arrow or a simple line).
- Title Settings: Adjust the font, size, color, alignment, and spacing of your story titles.
- Description Settings: Style the text color, size, alignment, and spacing of your story descriptions, just like you did with the titles.
- Line Settings: Change the color and width of the main vertical line running through your timeline. You can even turn on line filling animation, so the line visually fills with color as visitors scroll down the page. This small touch makes a big difference in how polished your timeline feels.
- Icon Settings: Adjust the background color of your icons or dots, along with the icon or text color inside them.
- Spacing and Position Settings: Fine-tune the position of your labels and icons, and adjust the gap between them so nothing looks cramped or misaligned.
Step 5: Preview and Publish
Once you’re satisfied with everything:
- Click Publish (or Update, if the page already exists) to make your timeline live.
- Click Preview to see how your timeline appears on desktop, tablet, and mobile.
A Few Extra Tips
- Keep your descriptions short. A timeline works best with brief, punchy text for each event. Save the long-form details for a linked blog post if needed.
- Use consistent images. Try to keep your story images a similar size and style so the timeline looks neat and uniform.
- Don’t overload it with entries. If you have a lot of milestones, focus on the most important ones. A cluttered timeline is harder to read than a clean, focused one.
- Match your brand colors. Use the design settings to align the timeline’s colors with the rest of your website for a consistent look.
Final Thoughts
Building a vertical timeline in Divi doesn’t have to be complicated. With the Timeline Module for Divi plugin, you can create beautiful, responsive timelines without writing a single line of code. If your website uses Elementor instead, Timeline Widget for Elementor provides the same intuitive experience. And if you prefer maximum flexibility across themes and builders, you can easily create and embed timelines using Timeline via Shortcode.