Every business has an inspiring history, but when it comes to showcasing that story on the website, it often ends up in a boring block of text or lost in a basic “About Us“ page. So, how can you turn your company milestones into something your visitors will actually enjoy reading?
The answer is Cool Timeline Pro, a powerful WordPress plugin that helps you visually present your company’s journey through beautifully designed vertical or horizontal timelines and organize them based on particular categories. Whether you want to highlight your startup story, showcase project progress, or celebrate achievements, this plugin makes it easy to create an interactive timeline that brings your history to life.
In this blog post, we will discuss the simple steps to build and customize a stunning timeline using Cool Timeline Pro.
What is Cool Timeline Pro?
Cool Timeline Pro is a powerful premium WordPress plugin designed to help you visually present your story in the most engaging way possible. Whether it’s your company’s history, a project roadmap, personal journey, or product evolution, this plugin transforms milestones into organized timelines that are easy to create and even easier to navigate. With just a few clicks, you can add events, images, icons, and content to build a dynamic timeline that flows vertically or horizontally across your page.
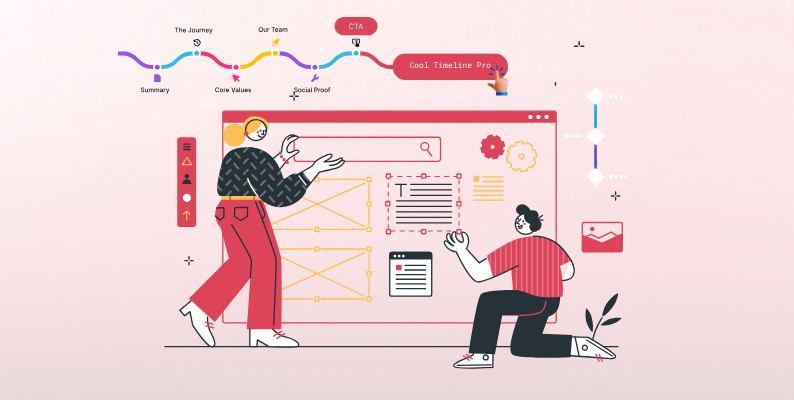
In short, it turns your story into something people will want to scroll through and explore. Below are the listed features that make Cool Timeline Pro your must-have timeline plugin:
- Vertical & Horizontal Layouts: Whether you want a classic vertical timeline or a more dynamic horizontal timeline, Cool Timeline Pro lets you display your stories in both formats. You can also choose between one-sided or both-sided timelines for a clean, organized look.
- Ready-Made Timeline Designs: No need to design from scratch. The plugin offers a variety of beautiful pre-designed templates that you can instantly apply, saving time while giving your timeline a professional look.
- Create Custom Timeline Stories: Add each milestone or event as a separate story complete with title, description, date, icon, image, and even video. It’s perfect for showcasing your company’s journey, achievements, or product development.
- Supports Both Gutenberg & Shortcodes: Whether you’re using the WordPress Block Editor (Gutenberg) or prefer the classic editor, Cool Timeline Pro works with both. You can add timelines directly using blocks or embed them anywhere with shortcodes.
- Date Sorting & Filtering Options: Timelines are automatically sorted by date, but you can also allow users to filter events by categories or years making it easier to navigate long timelines.
- Pagination & “Load More” Feature: If your timeline has lots of events, break it up using pagination or a “Load More” button to keep things organized and improve page loading speed.
- Smooth Animations on Scroll: Add animations to your timeline entries as users scroll down the page, making the browsing experience more engaging and interactive.
- “Read More” Buttons & External Links: Need to link to full blog posts, case studies, or detailed pages? Each timeline entry can include a “Read More” link or custom URL for deeper exploration.
Steps to Showcase Your Company History Using Cool Timeline Pro
- Go to your WordPress dashboard.
- Navigate to Plugins > Add New, then click on Upload Plugin to upload the Cool Timeline Pro ZIP file.
- After uploading, click Install Now, then Activate the plugin.
There are two ways to create an event timeline:
- Shortcode-based timeline
- Gutenberg-block based timeline
First Method: Shortcode-based timeline
- Once activated, a new tab called “Timeline Addons” will appear in the left sidebar of the WordPress dashboard.
- Click on Timeline Addons > Add New Story. Classic Editor will open.

- Enter a title for your story in the title field and add a short description or content related to the story in the main editor area.
- Now, scroll down to the Story Settings section. Here, you can:
- Select an icon type.
- Set the date, position, and more.
- Upload media (images, videos, or slideshows).

8. Once your story details are filled out publish the story. Repeat these steps to add more timeline stories.
Now, let’s add this timeline story to our page:
9. Go to Pages > Add a new or open an existing page. Search for Timeline in the Gutenberg blocks. You can choose:

- Story Timeline (for stories you created).
- Post Timeline (for blog posts displayed as a timeline).
10. In the right sidebar, under General Settings, you can:
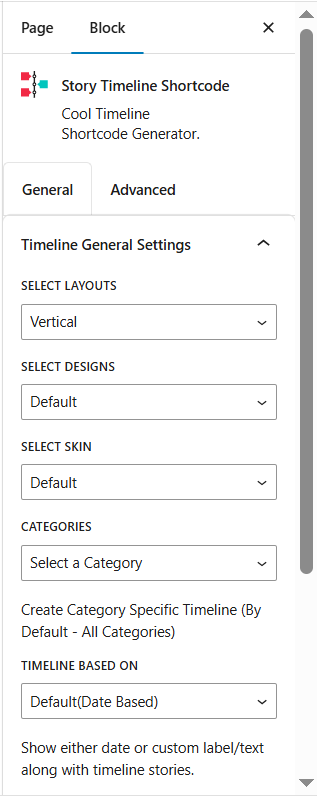
- Choose between a vertical or horizontal layout.
- Select from multiple timeline designs.
- Set the number of stories to show per page and more.
11. From the Advanced Settings panel, you can:
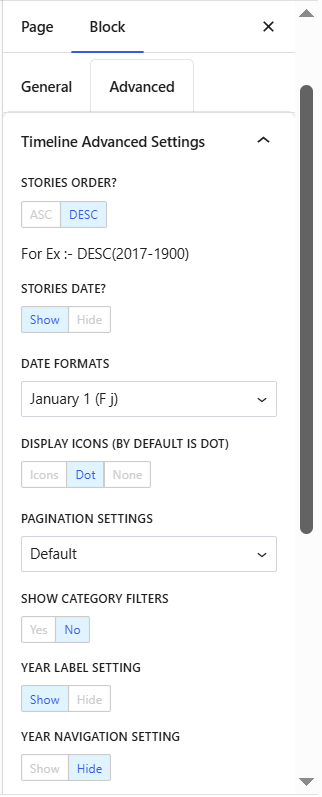
- Change story order (ASC/DESC), show or hide dates, and choose date formats.
- Enable/disable pagination, category filters, year labels, and navigation.
- Customize icons, enable “Read More” links, and more.
12. Click the publish button to save the timeline on your page.
13. View the page to check how your timeline looks.
14. Now, let’s customize our timeline story according to the website design by applying different colors. Go to Timeline Addons > Timeline Settings.
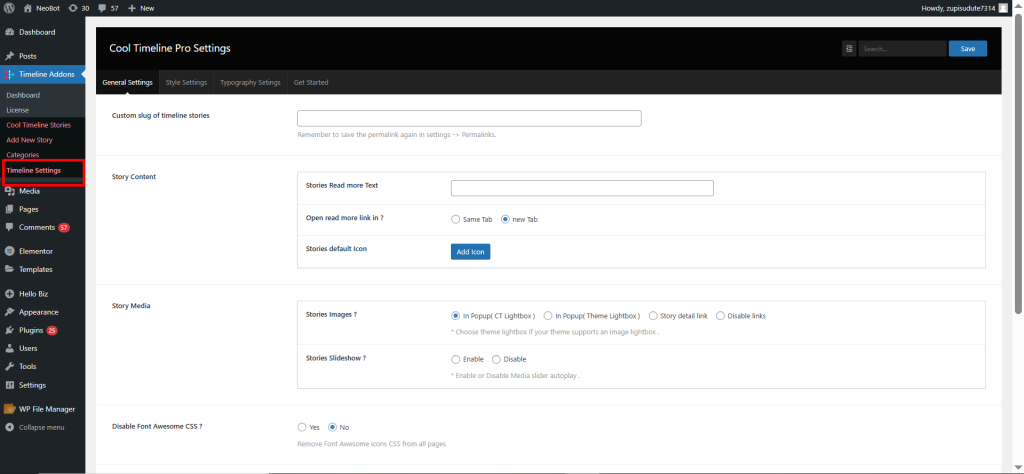
15. Under Style Settings, you can:
- Choose custom colors for your timeline elements.
- Adjust typography and spacing to match your site’s theme.
16. Save the changes and preview your timeline story.
Second Method: Gutenberg-block based timeline
- Navigate to pages, search for “timeline”, and select Timeline Block.
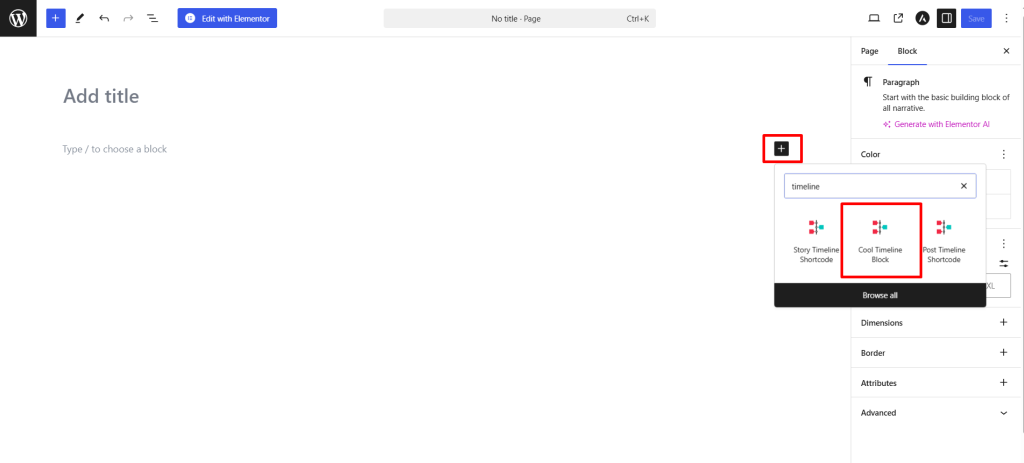
- Default timeline stories will be added to your page.
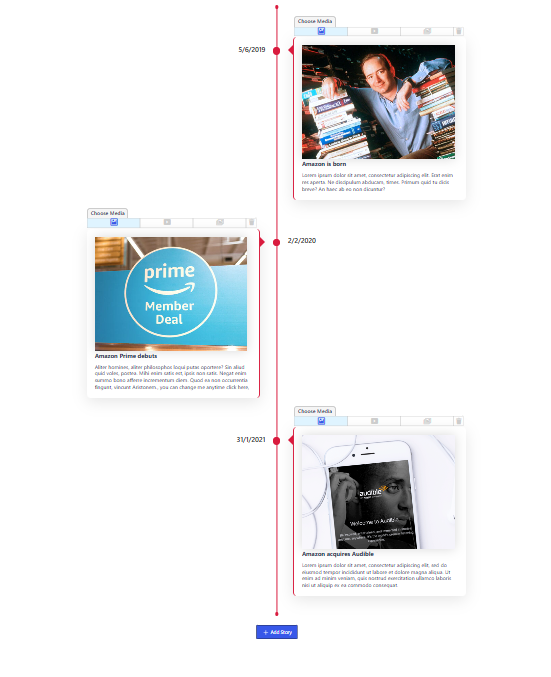
- For each story, enter a title (like “Founded in 2015”), choose a date or year that reflects the event’s time, and write a detailed description in the content editor.
- Upload an image or icon that visually represents the story, this helps make your timeline more engaging and easy to follow.
- Add as many stories as needed by repeating this process, the plugin will automatically arrange them chronologically based on the dates you enter.
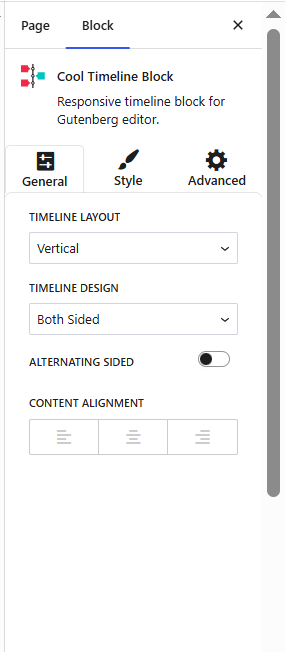
- In the right sidebar, from the general settings, select the vertical or horizontal layout and choose whether you want to display the timeline in a one-sided or both-sided layout. From designs, select from pre-made styles and also define stories to display per page.
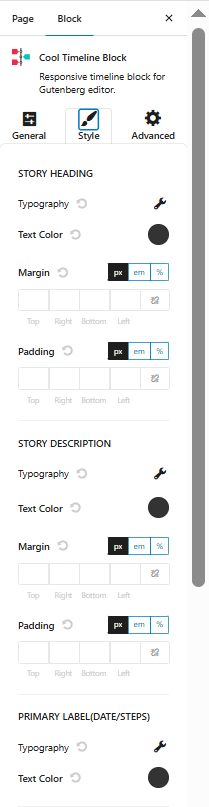
- From the style setting, you can customize your timeline story by applying different colors to the story Background, setting the title text color, description text color, and date text color to match your brand colors, and more.
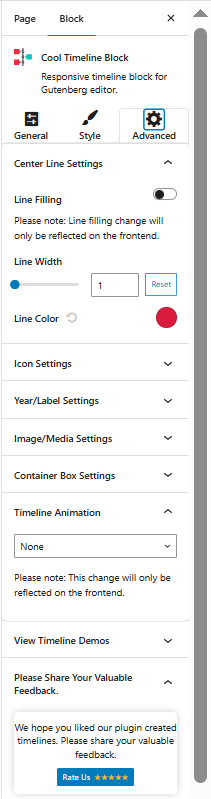
- From an advanced setting, you can set story order (ASC/DESC), choose a date format, apply global or custom icons, and enable pagination, year labels, and “Read More” buttons.
- Publish the story after implementing all the necessary settings.
So, instead of letting your company story sit in plain text, display it in vertical or horizontal timelines with Cool Timeline Pro that are interactive, easy to build, and visually impressive.