Are you searching for a solution to present your content in a beautiful timeline layout? Whether you’re sharing your personal story, company history, or project roadmap, a vertical timeline can make your content stand out. Today, we’ll explore how you can easily add a stylish vertical timeline inside a page that you are creating with WordPress default Gutenberg block editor.
Quick Solution
- Edit your page with the Gutenberg block editor.
- Search ‘Timeline’ inside the block’s search box.
- Install ‘Timeline Block‘ developed by Cool Plugins.
- A vertical timeline with dummy content will appear. Replace it with your own story or content.
- All done! You now have a beautiful vertical timeline on your page.
Step-by-Step Guide to Create a Vertical Timeline
Installing Timeline Block Plugin
- Download the Timeline Block Plugin and activate it.
- Select your desired page in the WordPress admin area or new page and open it with the Gutenberg block editor.
- Click the “+” button to add a block.
- Search for “Timeline Block” and select the Timeline Block to add it to your page.
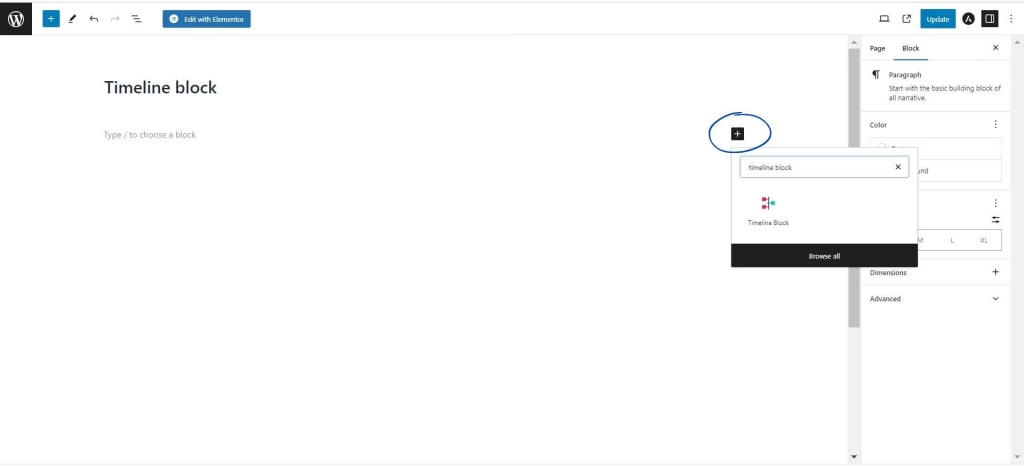
- Default blocks with dummy content will appear on your page. You can click on the add story button at the bottom to add more blocks.
Customizing Timeline Styles & Settings
- Click on the General Tab, you can select a timeline design according to your choice.
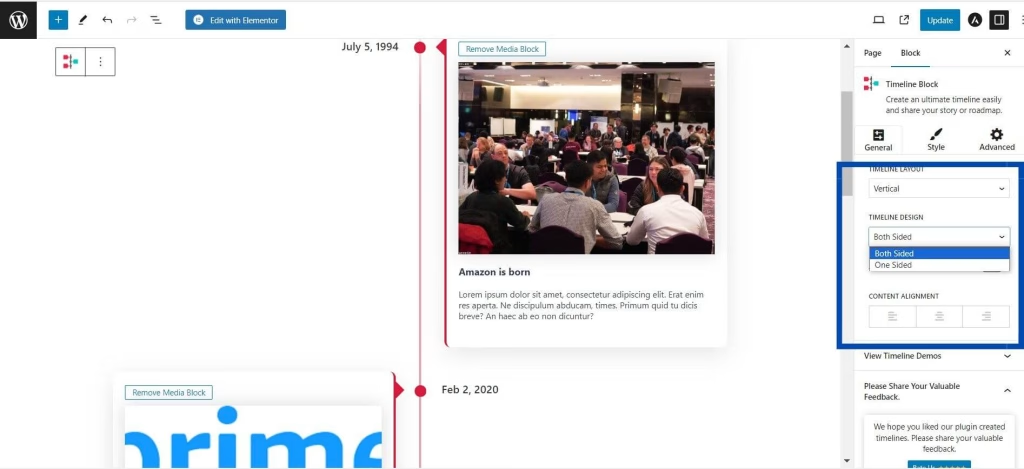
- Both sided: It will display blocks on both the right and left sides.
- One sided: It will display blocks only on one side. If selected, an alignment tab will appear, allowing you to choose left or right alignment for the block.
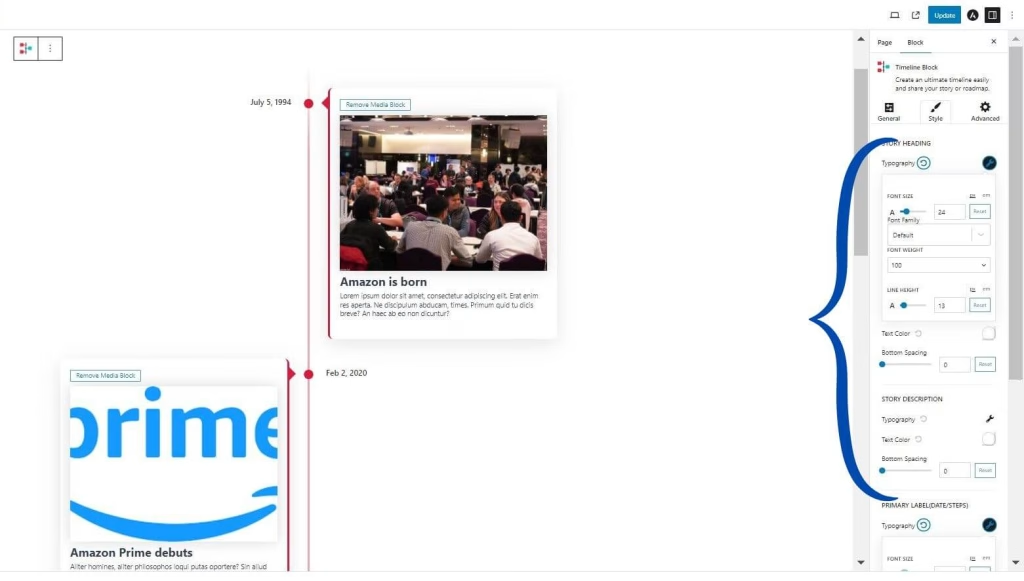
- In the Style section, you can:
- Change the font size, weight, and height.
- Select the text color for the story heading and description.
- In the Advanced section, you can:
- Change the color of the icon, line, icon background, and story border.
- Adjust the sizes of these elements.
- Click on Primary Labels to change or add the date of the incident.
- If you want to change or add an icon, click on the icon, and then you can search for the icon you want to add.
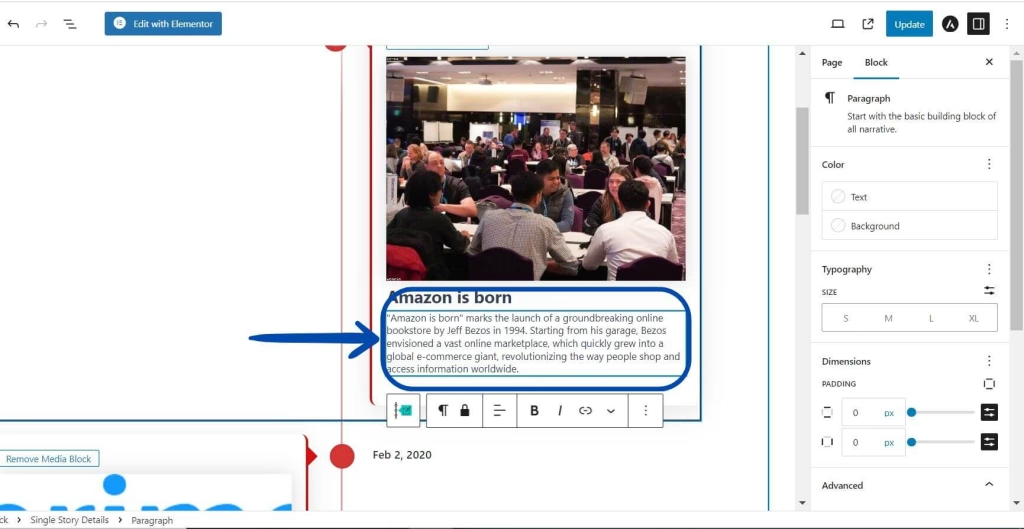
- You can write story headings and story descriptions just by clicking on them.
- Update or Publish the page and check the front end, Vertical Timeline block will be easily added to your page.
Why Use a Vertical Timeline?
A vertical timeline is a great and easy way to show information in a visually appealing way. Here are several reasons why you should consider using it:
- It present information in a linear format, making it easy for viewers to understand events.
- You can customize the design to match your branding or theme.
- Allow the integration of images, videos, and links, enhancing the storytelling.
- It can be used for various purposes:
- Present historical events or company history.
- Present project milestones and plans.
- Highlight personal or professional achievements.
Create a Timeline in Elementor Pages
Do you prefer using the Elementor page builder? then don’t worry we have a solution for that also, Cool Plugins offers a ‘Timeline Widget for Elementor‘. It has features similar to the Timeline Block Plugin, where you can share your brand story or company’s history with an outstanding timeline design using the advanced Timeline Widget for Elementor.
Final Words
By following this guide, you can easily share timeline stories in WordPress using the Gutenberg block editor. Whether you’re showing historical moments, project plans, or sharing personal achievements, timeline block can make your content stand out. Start creating your timeline stories today and bring your ideas to life in this dynamic format. Whether you’re using the Gutenberg block editor or the Elementor page builder, Cool Plugins has you covered with easy-to-use timeline solutions.