With the Timeline Block For Gutenberg, you can easily create and design beautiful timelines directly inside the Gutenberg editor. Just insert the block into your page or post and configure layout, style, and other options directly from the editor’s settings panel.
Add Timeline Block
Follow these steps to add a timeline using the Gutenberg Block Editor:
- Navigate to the pages section in your WordPress dashboard. Add a new page or “edit” an existing one.
- Now, from the blocks section, search and add “Timeline Block” to your page.
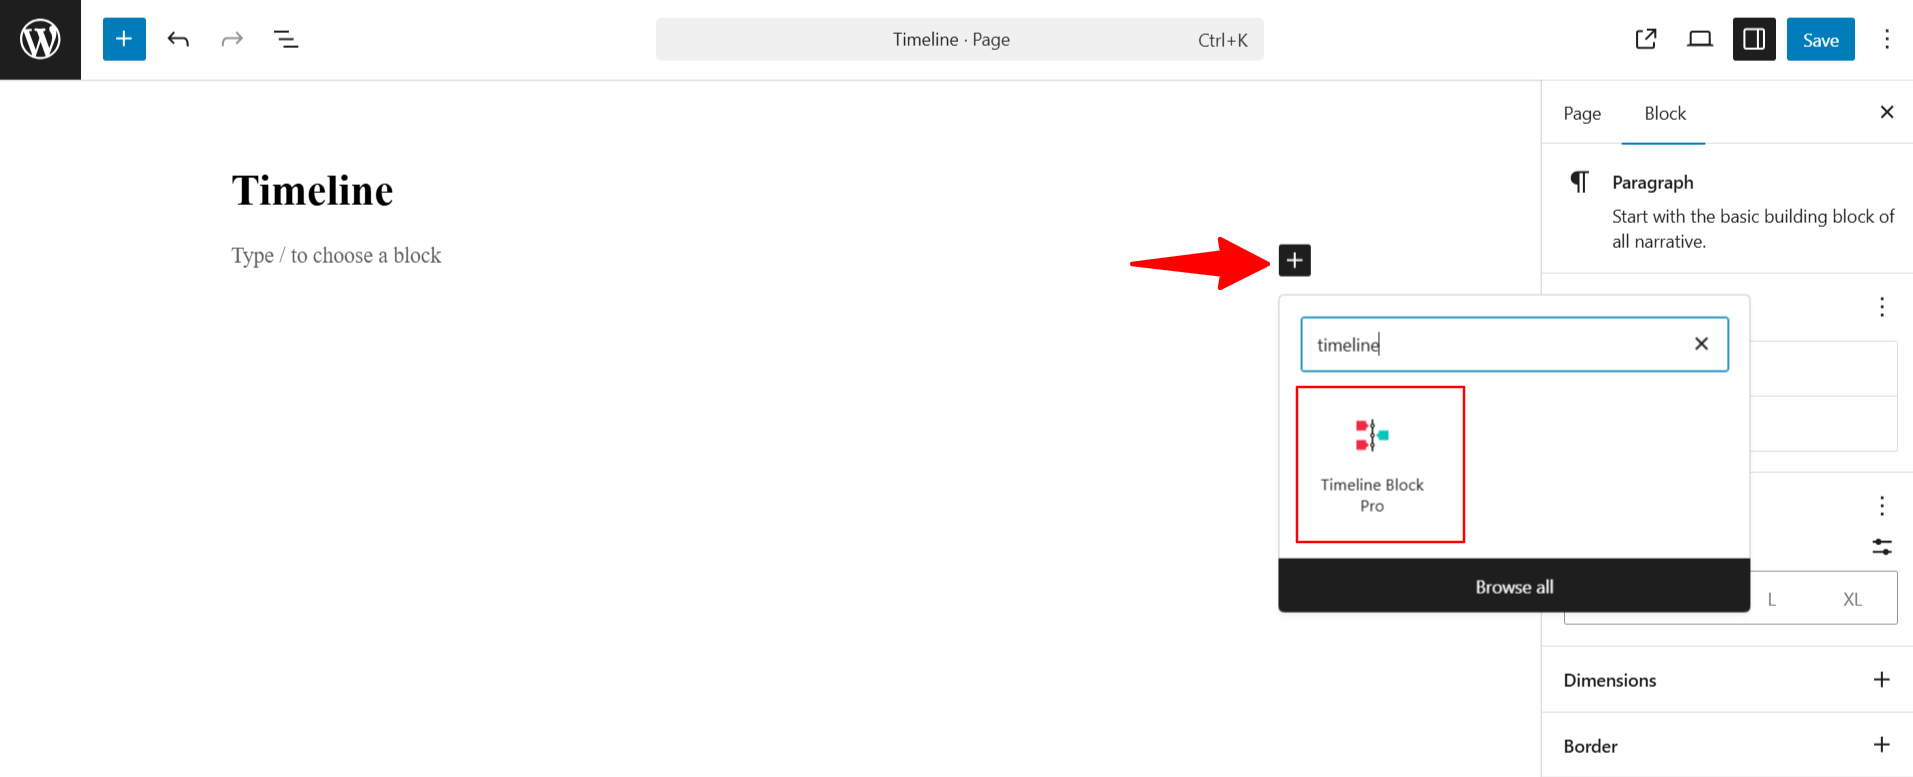
- Once added, you will see a default timeline structure appear on your page.
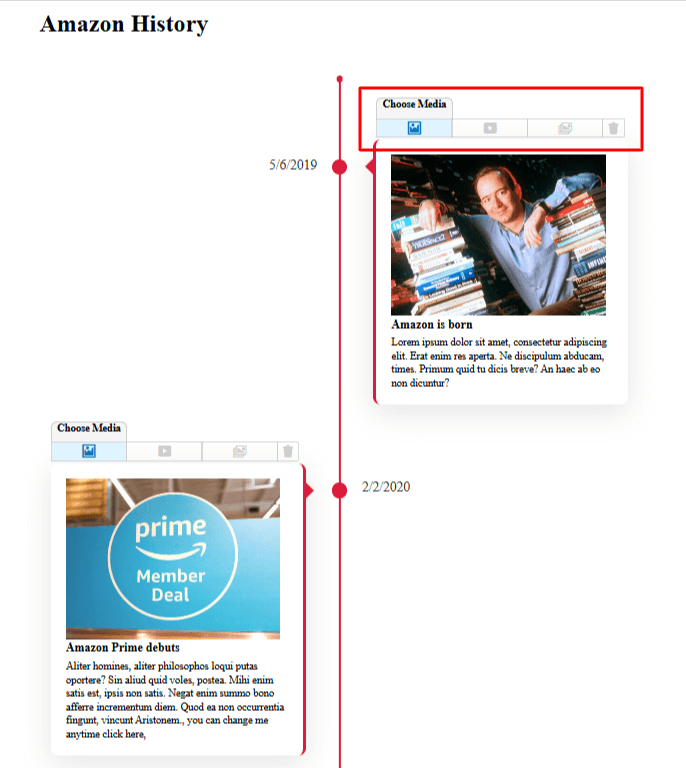
- You can now start adding timeline stories one by one. Each story will include a title, date, image, and description, which you can easily edit right inside the block.
- To embed images, videos, and slideshows within each timeline story, at the top of each story box, you’ll see a “Choose Media” option. This toolbar lets you pick the type of media you want to display.
Add a New Story
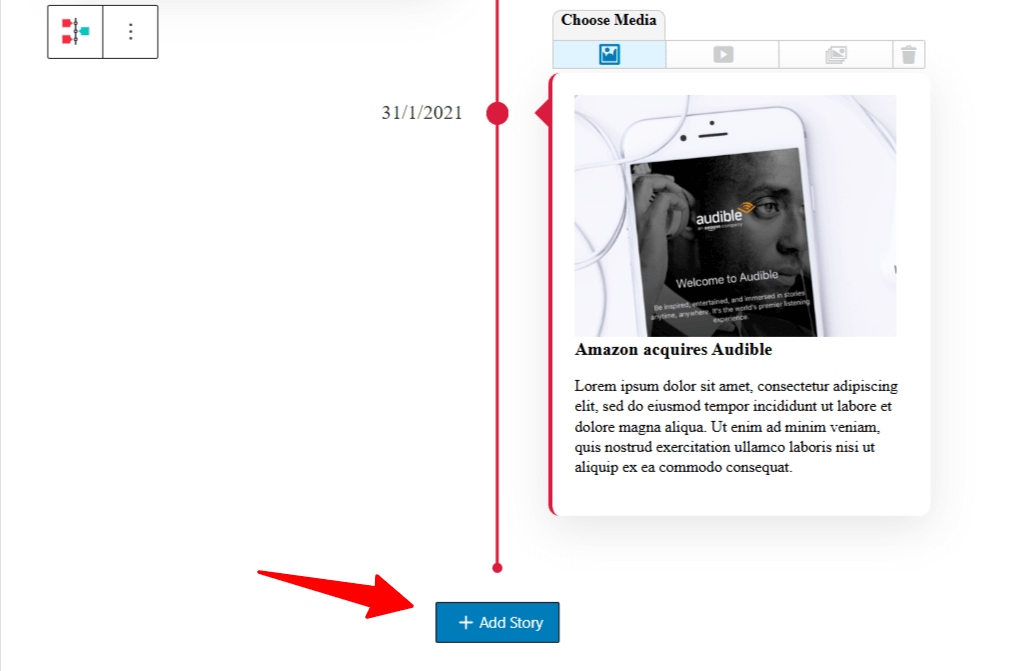
- To add a new story at the end, scroll down and click the + Add Story button. A new story block will be added.
- To change the order of a story, use the up and down arrow buttons on the story toolbar to move the block as needed.
- Additionally, to add a new story between existing blocks, you can click the plus (+) icon between two story blocks to insert a new one instantly.

Customize Single Story Block
If you want to customize a single story block, follow the steps below:
- Click on the story block you want to edit.
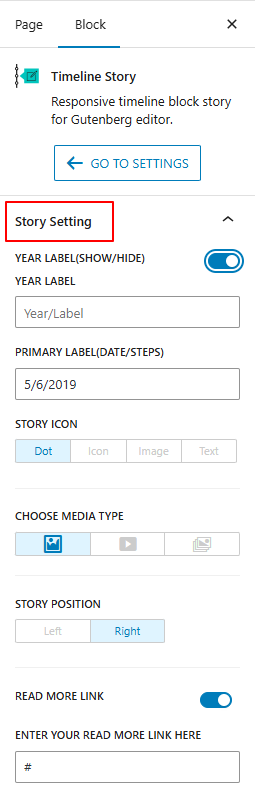
- The settings for that story will open in the right sidebar:
- Year Label (Show/Hide): Enable this option to display a year for the story.
- Year Label Text: After enabling the Year Label, enter the text.
- Primary Label: Set the main date, step, or heading for the story.
- Story Icon: You can add an image, text, icon, or a simple dot for the story icon.
- Story Position: Adjust the position of this story within the vertical layout.
- Read More Link: Enable the “Read More” link if you want to provide extra details or direct users to another page.
- Enter Your Read More Link: After enabling the Read More option, add the URL where users should be taken when they click the link.
That’s it, your single story block will be customized according to your preferences.